How to test a motorcycle battery - #TechTipTuesday
Maybe you have a bike that’s not starting, or maybe you want to make sure your bike doesn’t get to that point. Whatever the reason, you’ve come to the right article to learn how to check your battery’s health.
There are a few tests one can run just on the battery, rather than the whole charging system, with a variety of tools. Note that there are a number of tests and tools available on the market, and very few comprehensively test a battery. Fortunately, common sense and a few checks ferret out most battery problems pretty easily. We’ll move in order of difficulty first, which coincides with the cost of test equipment necessary.
Step 1. Check to make sure you actually have a mechanical problem
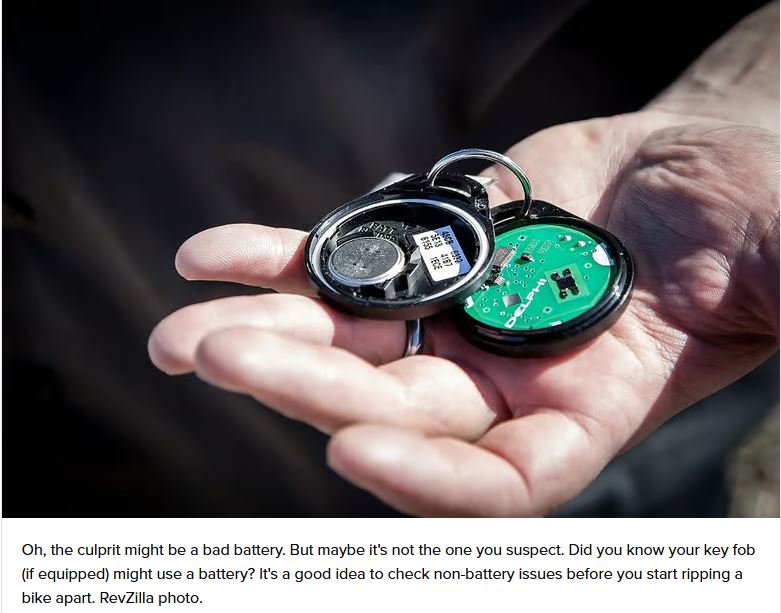
Is your sidestand up? Is your clutch pulled in? Often on modern bikes there are electrical switches that will not allow a bike to start if these two conditions are not met. Is the bike’s key in the ignition position? These not battery problems, but they will mimic the problems a bad battery displays.
Step 2. Once you verify you have a problem, make sure it’s a battery issue
Mechanics never describe a starting problem as “not running.” Starting issues are either “no crank” or “no start.” If the bike’s starter sounds like it’s turning over the engine at the appropriate speed, odds are good your no-start condition is not a bad battery. Though your bike’s electrical system is pretty complex, the starting system really is not. Cranking issues are often battery related. Starting issues are usually not.
A quick test, even if you are by the side of the road, is to turn on your bike’s headlight and walk around to the front of the bike. A weak, dim headlight is an excellent indicator your battery’s not up to the task of starting your freedom machine. Note that many modern motorcycles have a circuit to turn the headlight on only after the bike is running, so this test won’t work on those. (If you’re in your garage, you can simply light up a headlight connected by wire to the battery if you know how, regardless of how the bike is wired.)
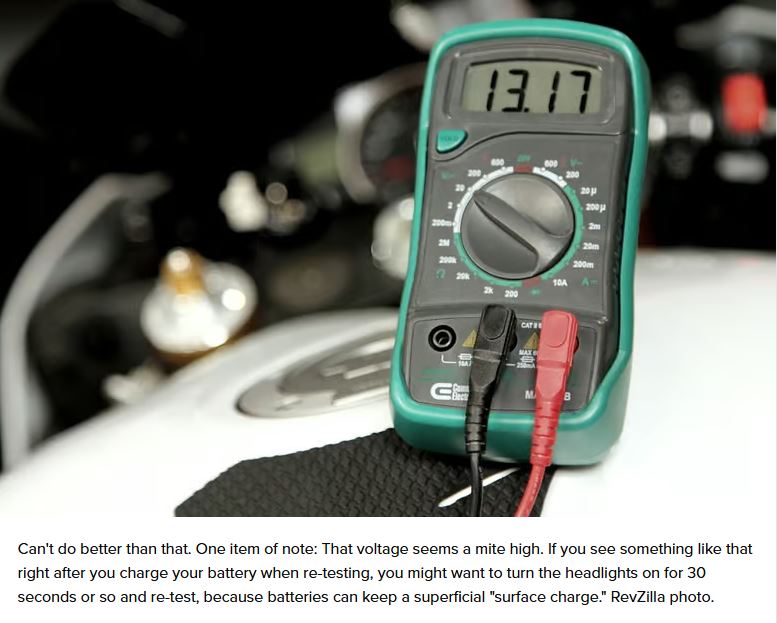
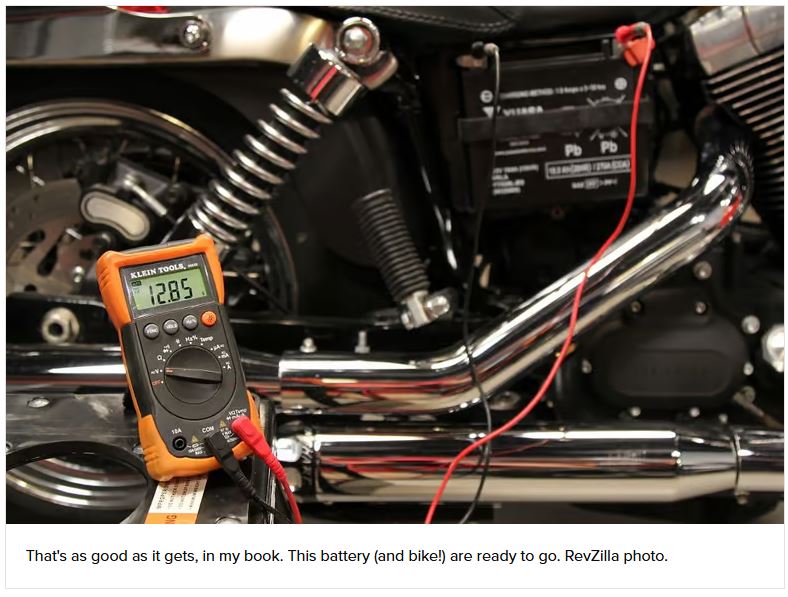
Step 3. Perform a standing voltage test
What we're about to discuss holds true for standard lead-acid and AGM (absorbed glass mat) batteries. Batteries of a different construction type may well have different testing procedures and specification. (Lithium batteries spring to mind immediately as a battery that has a different usage and test scenario. If you've got one, refer to your battery manufacturer's recommendations.)
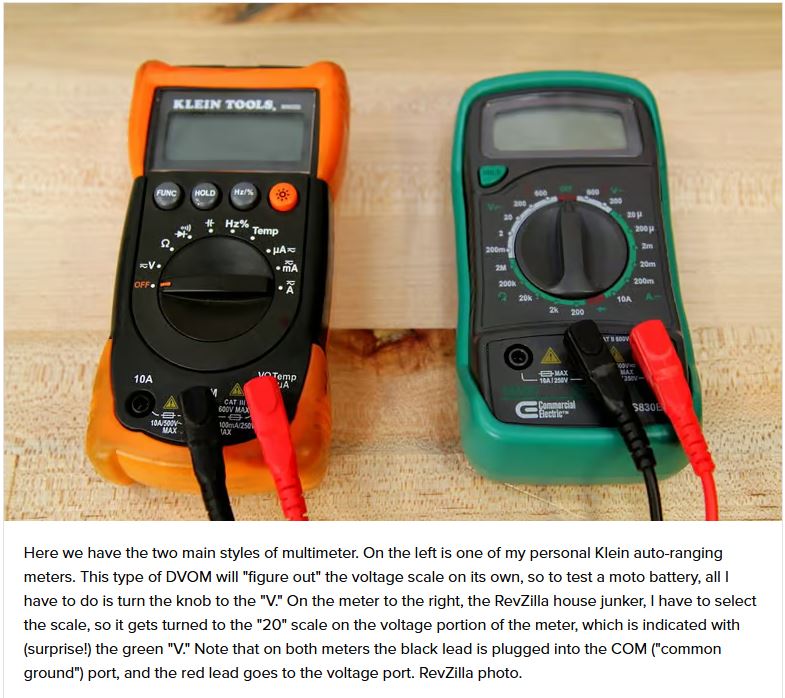
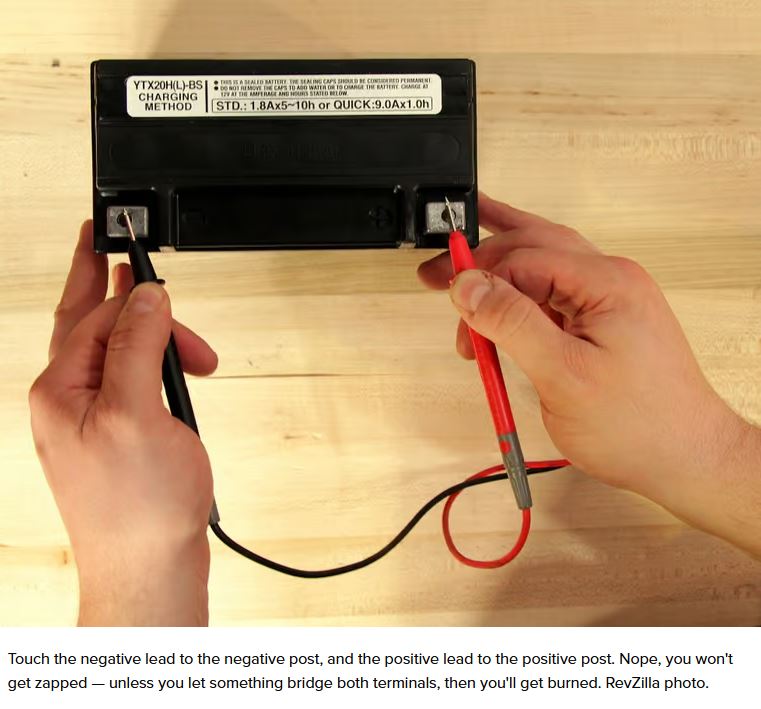
Batteries need both voltage and current, but testing voltage is easy — all you need is a multimeter, also known as a DVOM (Digital Volt and Ohm Meter). Plug the leads into the multimeter. The black lead will go into the port that says “COM” (common ground) and the red lead will get plugged into the port that has a capital “V”. Turn the multimeter on to the 20V DC section of the scale. (If you have an autoranging meter, just go to “V,” because you won’t have a scale.) With the bike completely turned off, touch the black lead to the negative post of the battery, and the red lead to the positive post. Record the voltage.
Even though you are testing a 12-volt battery, you should know that a battery that is truly 12.0 volts is a boat anchor. The following table shows how battery voltage corresponds with state of charge at 80 degrees F:
| Voltage | State of Charge/What to do |
| 12.73 or better | 100 percent. Go ride. |
| 12.62 | 90 percent. Charge it, then go ride. |
| 12.50 | 80 percent. Charge it, then go ride. |
| 12.32 | 70 percent. Charge it, then go ride. |
| 12.20 | 60 percent. Charge it, then go ride. |
| 12.06 | 50 percent. Charge it, then go ride. |
| 11.90 | 40 percent. Try charging it, but it might be toast. |
| 11.75 | 30 percent. Try charging it, but it might be toast. |
| 11.58 | 20 percent. Battery has converted to doorstop. |
| 11.31 | 10 percent. Battery has morphed into boat anchor. |
| 10.50 | No meaningful charge. Check to see if battery has been replaced with rock. |
Note that most of you will stop here. You’ll probably find that your battery is shot. You can attempt to charge the battery, possibly with good results, or you may also want to look into replacing the battery.

Step 4. Perform a cranking voltage test
You can perform a test with the battery under load (working) to get an idea of the current flowing through it. Note that this isn’t the “right” way to do this, but it’s another clue to help you confirm or deny your battery’s health. Hook up your DVOM in the same manner you did for the standing voltage test, and have an assistant thumb the starter. While the starter is spinning, observe the voltage. The starter should be running at normal speed. A good battery should not drop below 9.6 volts over 10 seconds or so.
Step 5. Perform a current draw test
If you have a load tester (a "toaster," so named because electrical energy is converted to heat, making the device quite warm when in use), now is the time to use it. Performing current tests is largely dependent on the style of tester, so I will refer you to the instruction manual for your tester. These are generally more progressive than the “go/no-go” nature of the cranking voltage test. The carbon pile mimics an actual electrical load. It hooks up, and the operator presses a spring-loaded button to apply a load of a known size to observe the battery’s behavior.
Step 6. Perform your repair (charge or replace)
If the battery was weak, charge it and perhaps look into why it might be weak. If the battery was bad, replace it. If you charged the battery, re-check it!
Step 7. Troubleshoot the cause of the problem
At some point in your testing, you’ve likely failed one of these tests. If you have not, your starter may be drawing an unacceptable amount of current, or you may have bad or corroded battery cables. (If you know how to do it, a voltage drop test should be the next test you perform.) Don’t overlook relays, switches, wiring, and solenoids in your search, too. A parasitic draw may also be at the root of the bad battery. (Does the bike have a parasitic draw that’s normal, like a clock or blinking security alarm light on it?)
Of course, maybe it was just cold and you forgot to hook up your battery charger. Or perhaps your stator is getting weak and can’t supply your battery with enough juice to charge. Maybe your voltage regulator ain’t regulatin’. Who knows? I can tell you this much, though: Ignoring the issue won’t work for very long, if at all. Find out why your battery went bad!
Remember too that a battery that is only just passing these tests is likely to get worse quickly. Sometimes replacing a battery is financially painful, but the right thing to do. If you’re setting out on a cold fall ride, for instance, that battery might just shoot craps at just the wrong time. Do you want to gamble that the tow-truck operator you rely on has a flatbed and knows how to load and strap down a motorcycle without damaging it? Is a tow cheaper than a battery?
Also remember that charging system components are pretty expensive, and the labor to get to them is, too! Bad batteries place a heavy burden on a bike’s charging system. A $100 battery pales in comparison to the $500 you might have to spend to replace a stator that your battery wiped out.
Hopefully, you learned a few things and assessed your battery’s state of charge accurately. If you need any further help, drop a comment and either I’ll try and help you along, or one of our other helpful readers will jump in.
Source: Revzilla
Disclaimer:
As a service to the sport we all love and follow, Biker Life posts numerous media releases from a wide variety of sources on our website. Due to the large number, and sometimes short time available, it is nearly impossible to review each public release. These articles are written by reporters, writers or press officers who work for various organizations, event organizers, teams, drivers, riders, and other parties, and they do not necessarily reflect the opinions of Biker Life.